Openers · Normanhurst
Photo-Eye Sensor Alignment or Replacement in Normanhurst
The door will only go down while a finger stays on the wall button; let go and it stops or reverses.
In plain words
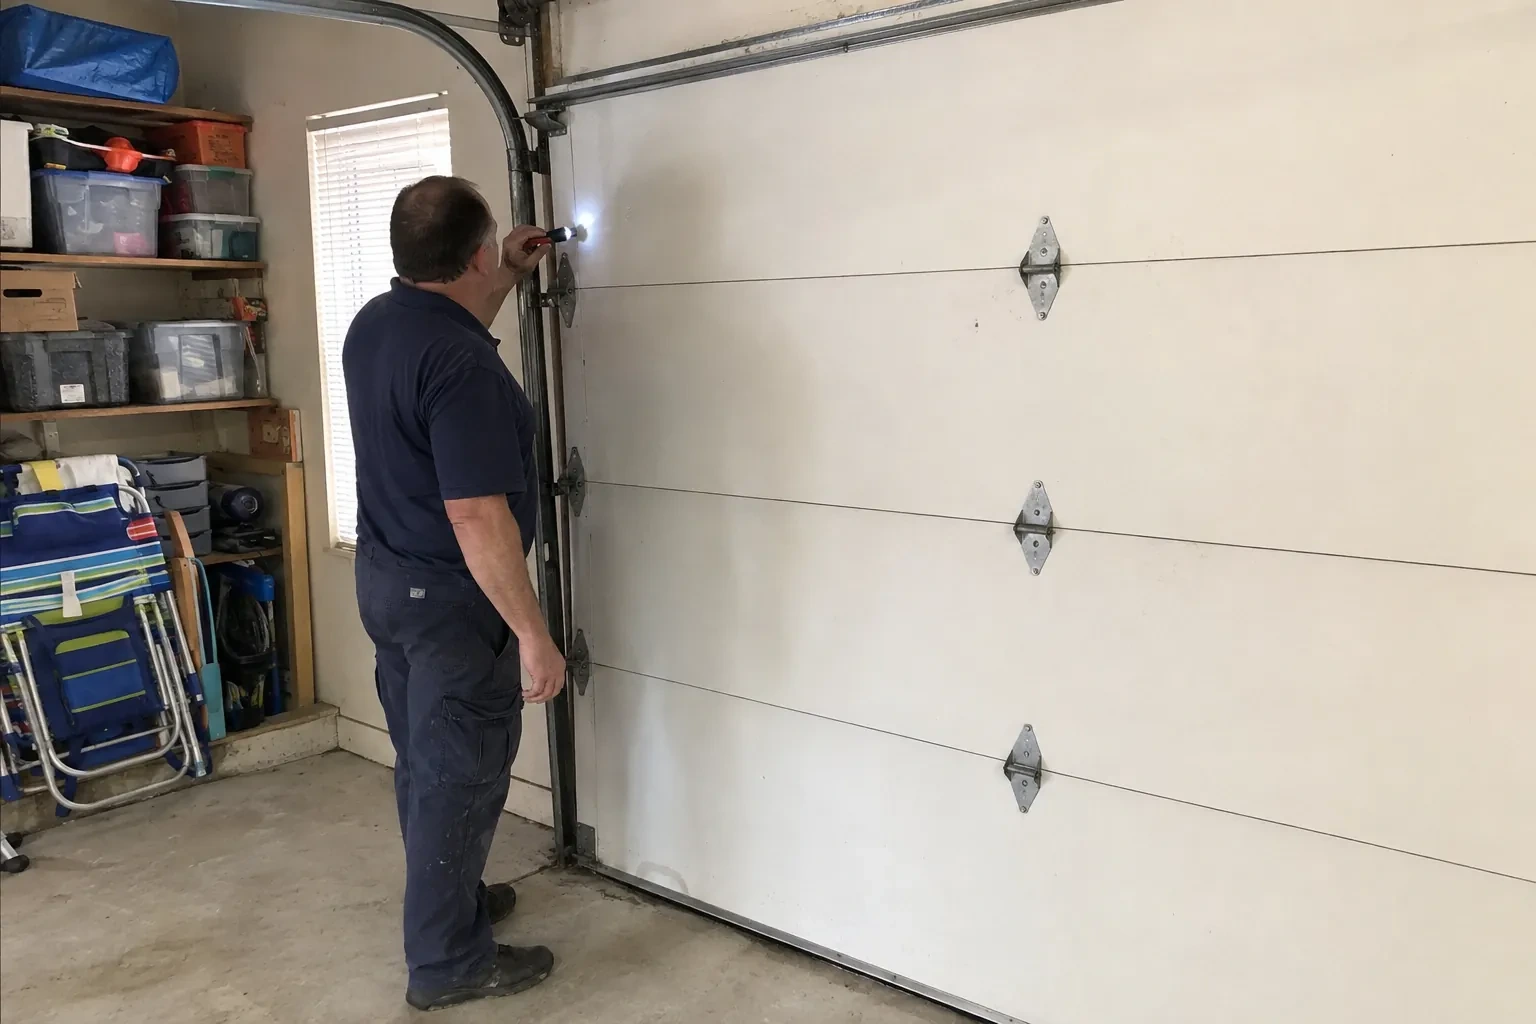
Your opener has been trying to tell you what is wrong. The head unit flashes its light a set number of times, or blinks a pattern on its up and down arrows, and each pattern maps to a cause on the maker's chart: beam blocked or misaligned, wire cut or disconnected, wires reversed or shorted. Down at the floor, many sensor pairs carry an indicator on each side, though some older pairs light only the receiver; check that model's chart, since a receiving light going out or flickering usually points to alignment. The technician reads both sets of signals first, which is why the repair usually takes one visit.
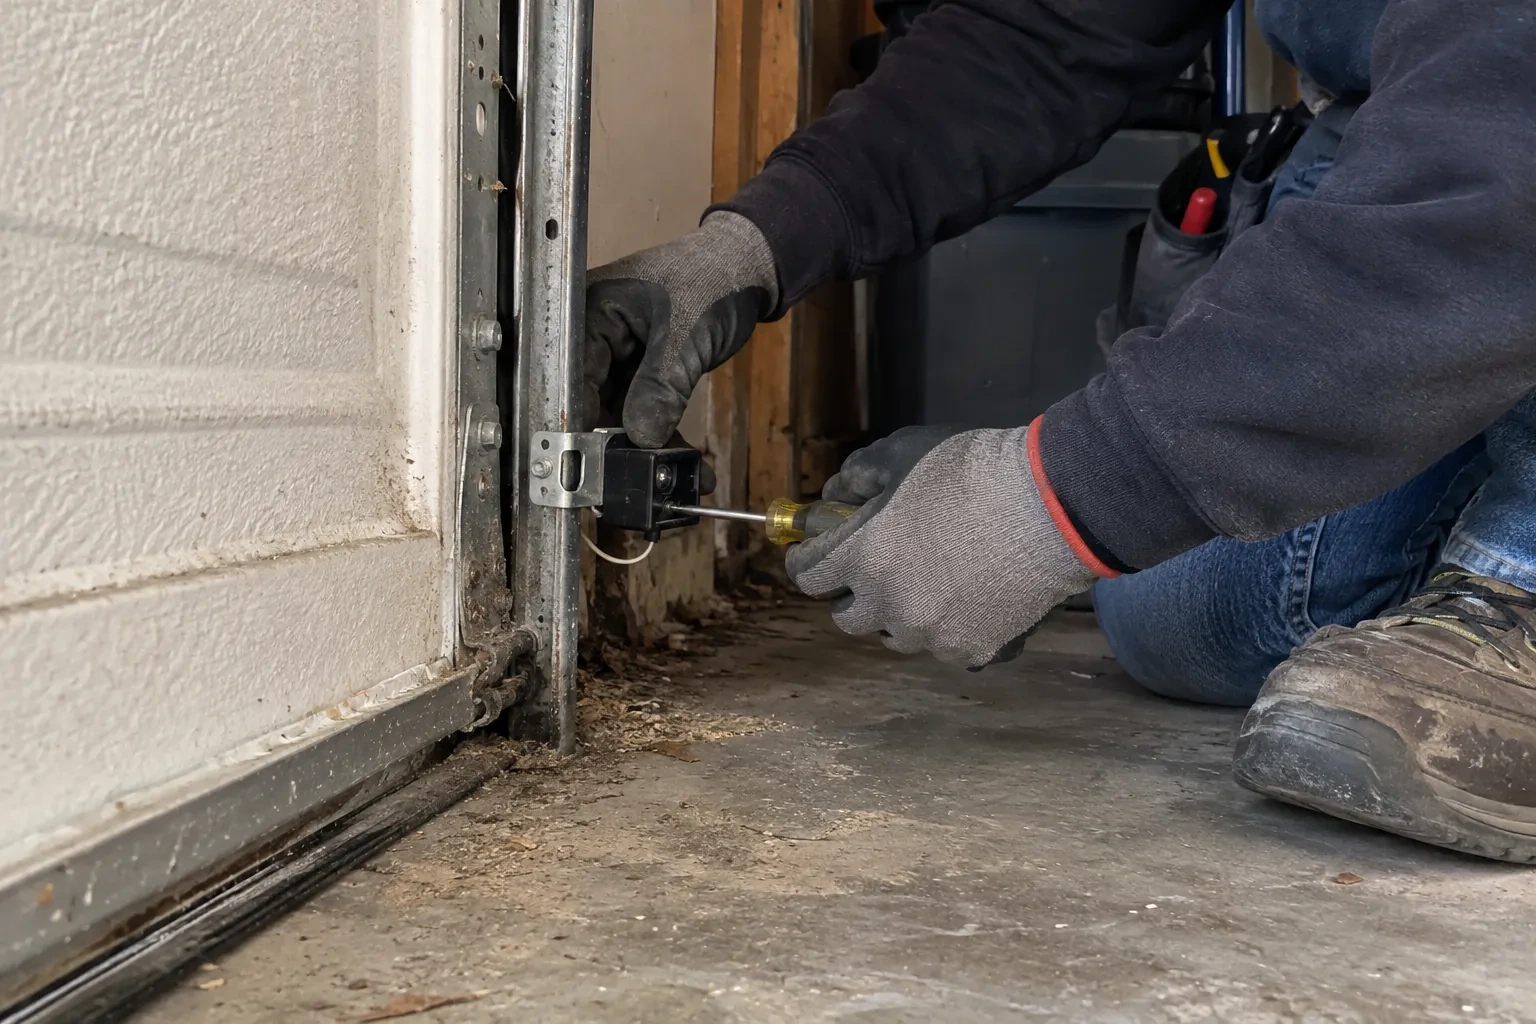
How the visit goesAfter a cold night the door stays open until the garage warms up. There is frost on the sensor lenses and a ridge of salty slush piled against the brackets where the snow blower was parked.
Photo-Eye Sensor Alignment or Replacement
How the visit goes
Following the wire home
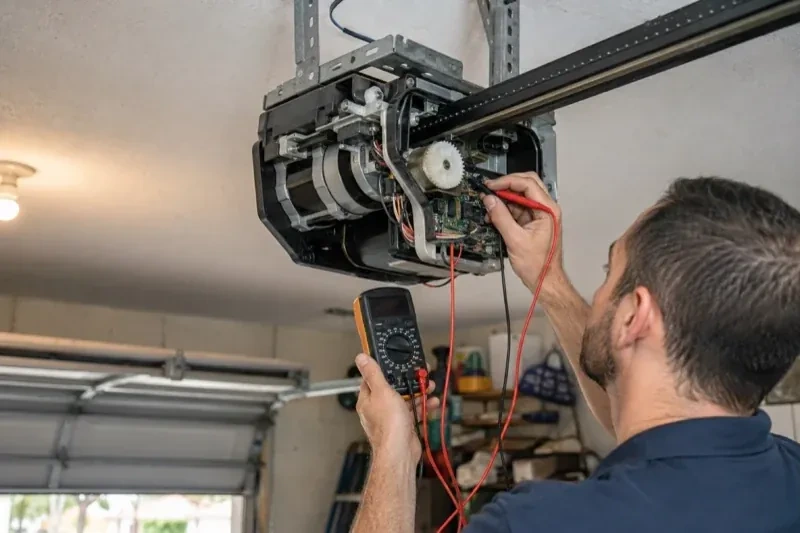
When the lights or the code point to the circuit, the low-voltage wire is followed from each sensor to the head unit. The technician looks for staples driven through the insulation, wire pinched behind a track bracket, sections chewed by mice, cuts where shelving or drywall screws went in, splices that have corroded, and terminals at the head unit that are loose or connected the wrong way round. A meter confirms continuity and polarity rather than guessing. Where the wire disappears into a finished ceiling, the readings at each end tell whether the hidden section is sound or whether a fresh run is the tidier answer.
Repairing the wire run
Damaged wire is dealt with in whole sections rather than patched at a single point. A pierced or chewed length is cut back to sound insulation and either spliced with proper connectors or, more often, replaced from the sensor to the nearest good junction. Where the run has failed in more than one place, a fresh two-conductor wire is stapled from the motor housing across the ceiling and down both sides of the opening, kept clear of the track, hinges and the door's travel. At the head unit the pair is landed on the correct low-voltage terminals with polarity confirmed, and the sensor lights are checked before anything is tidied.
Winter habits
In the cold months the sensors ask for a little attention. On frosty mornings give a misted lens a moment to clear rather than pressing close over and over, and wipe it with a dry cloth if it does not. Keep salt slush from building up against the brackets, since salt is what corrodes the mounts and terminals over time. Clear snow from just inside the door before closing it, and if the bottom seal has frozen to the slab, free it by hand rather than asking the opener to pull it loose. If the door closes at noon but not at nine, mention it; the low sun may be reaching the receiving eye and a shade sorts that out.
Photo-Eye Sensor Alignment or Replacement
In the van
Wall or floor angle brackets
Two-conductor low-voltage wire
Concrete anchors
Multimeter
Wing nuts and carriage bolts
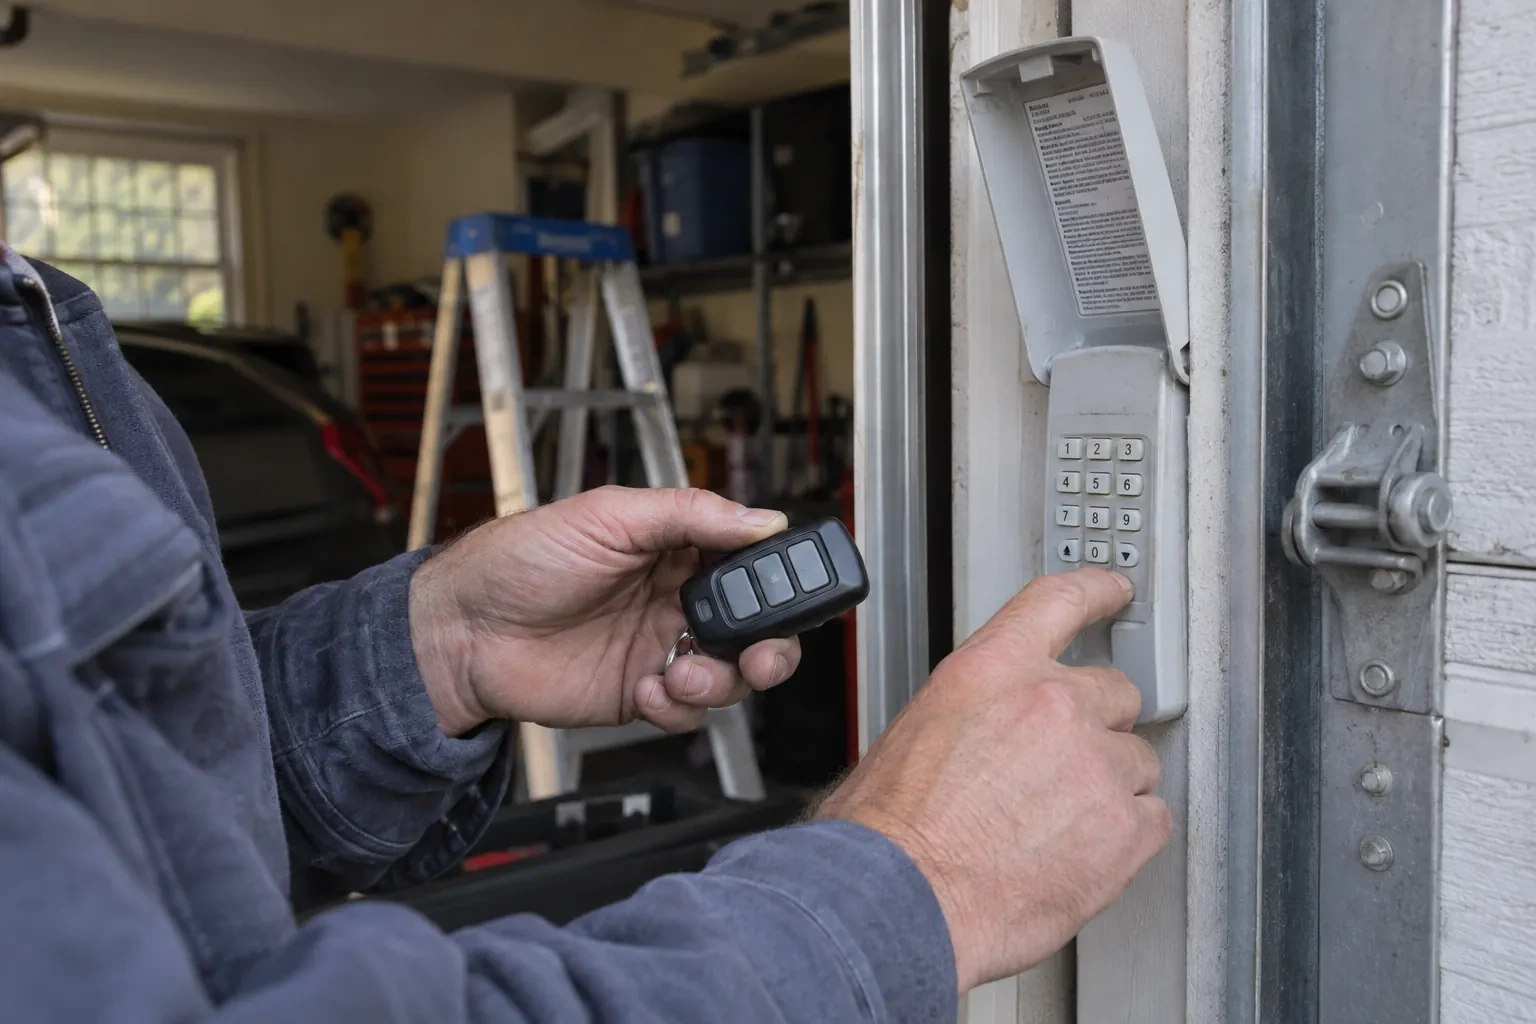
Photo-Eye Sensor Alignment or Replacement
What affects the quote
Type of kit
Some replacement kits contain only the two sensors with connectors, while others include brackets and a full length of wire. The kit that suits the opener and the state of the existing hardware is what is quoted.
Number of doors
Each opener has its own sensor pair and wire run, so a double garage with two doors is two sets of checks, two possible pairs and two rounds of testing, quoted per door.
Corrosion reaching the head unit
Where salt and water have travelled up the wire to the terminals, or the sensor terminals on the board are damaged, the repair extends beyond the pair and that is set out separately.
What to have ready
- Can you send photographs of both sensors, the head unit label and the wall control?
- How many doors and openers are there?
- When you press close, does the door bounce back, sit still, or go down only with the wall button held?
Photo-Eye Sensor Alignment or Replacement: questions
QuestionsDo I need to be home for the work?
It helps. The technician needs access to the garage and the head unit, and the visit ends with a demonstration of the sensor lights and the two tests so you know what normal looks like. If you cannot be there, an adult who can open the garage is enough, and the written note left afterwards records what was found and changed. Having the strip of floor beside the door clear before arrival saves time either way.
How should I clean the lenses?
Gently, with a soft dry or lightly damp cloth, the way you would clean eyeglasses. Never scrape a lens or use a solvent, since a scratched or clouded lens scatters the beam. Wipe both sensors, then check that the receiving light comes on steadily. If a lens frosts on cold mornings, give it a few minutes to clear or dry it with a cloth. A quarterly wipe keeps dust, cobwebs and salt film from building up.
How high off the floor should the sensors sit?
Low. The industry checklist expects the beam no more than roughly 15 cm (6 in) up from the floor, so that a small child, a pet or a bicycle wheel breaks it. Both sensors are set at the same measured height and level with each other, since a difference of a couple of centimetres is enough to lose the beam. Within that rule the technician can raise them a little to keep them out of the strip where slush collects.
Related services
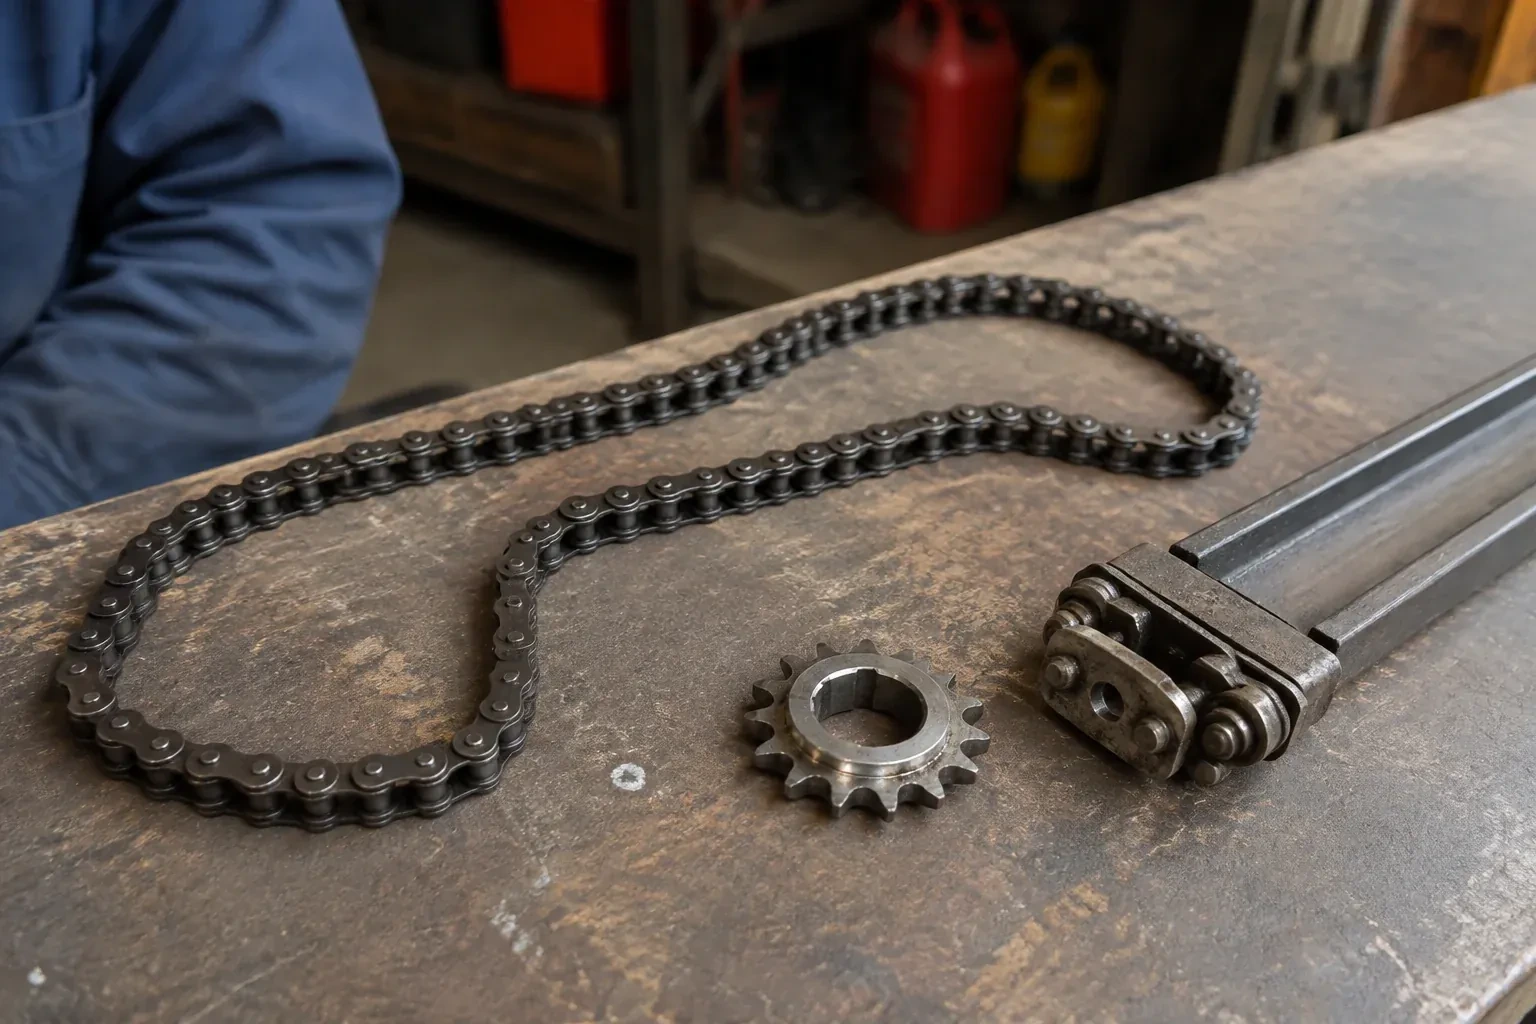
- Chain-Drive Opener RepairThe rail shakes when the door runs.
- Belt-Drive Opener RepairPress the remote and the motor runs its full cycle, lights on, the usual whir, but the door does not move a centimetre.
- Garage Door Opener ReplacementPress the button and the motor hums, but the door stays exactly where it is.