Openers · Ryckmans
Photo-Eye Sensor Alignment or Replacement in Ryckmans
The door will only go down while a finger stays on the wall button; let go and it stops or reverses.
In plain words
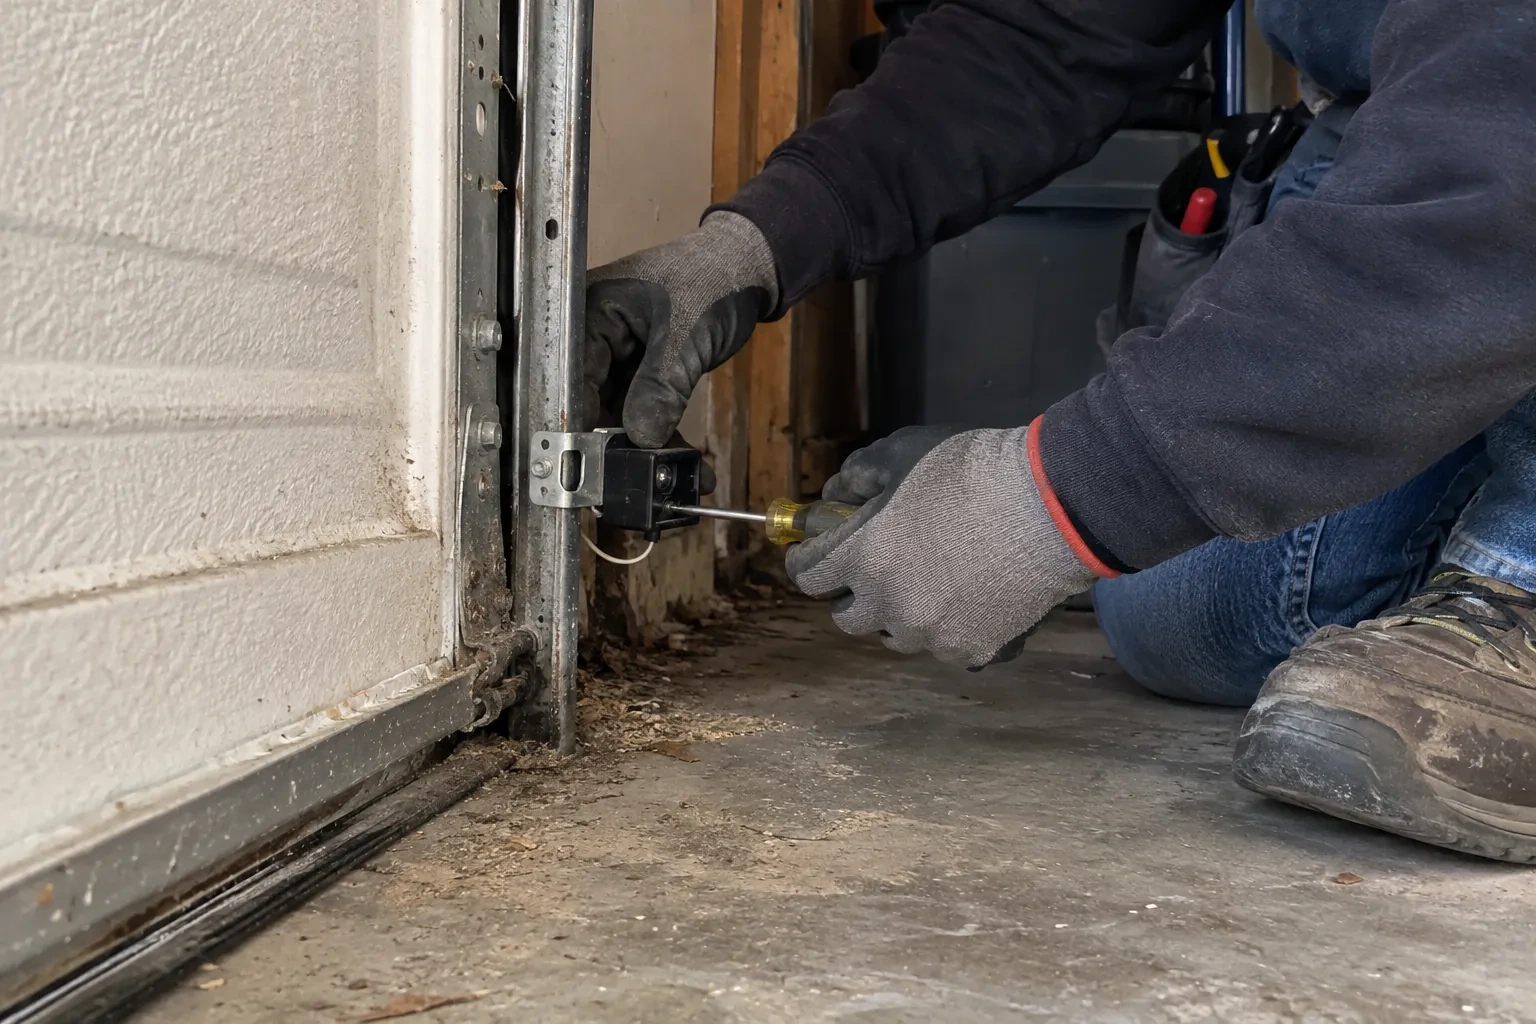
Most sensor visits end in alignment rather than new parts. The brackets that hold the sensors ride on the door track or the wall, and they get bumped by bins, tires and shovels until the two lenses no longer look at each other. The technician resets both sensors to the same height, loosens the wing nuts, aims the pair until the receiving light holds steady, tightens everything and secures the wire. Replacement is the answer when a lens is crazed, a housing is cracked, water has got inside or the indicator stays dark with good wiring, and then a pair matched to the opener is fitted.
How the visit goesSince shelving went up along the garage wall, the door will not close and both sensor lights are dead. A screw or staple may have gone through the thin wire that runs from the opener to the sensors.
Photo-Eye Sensor Alignment or Replacement
How the visit goes
Starting with the story
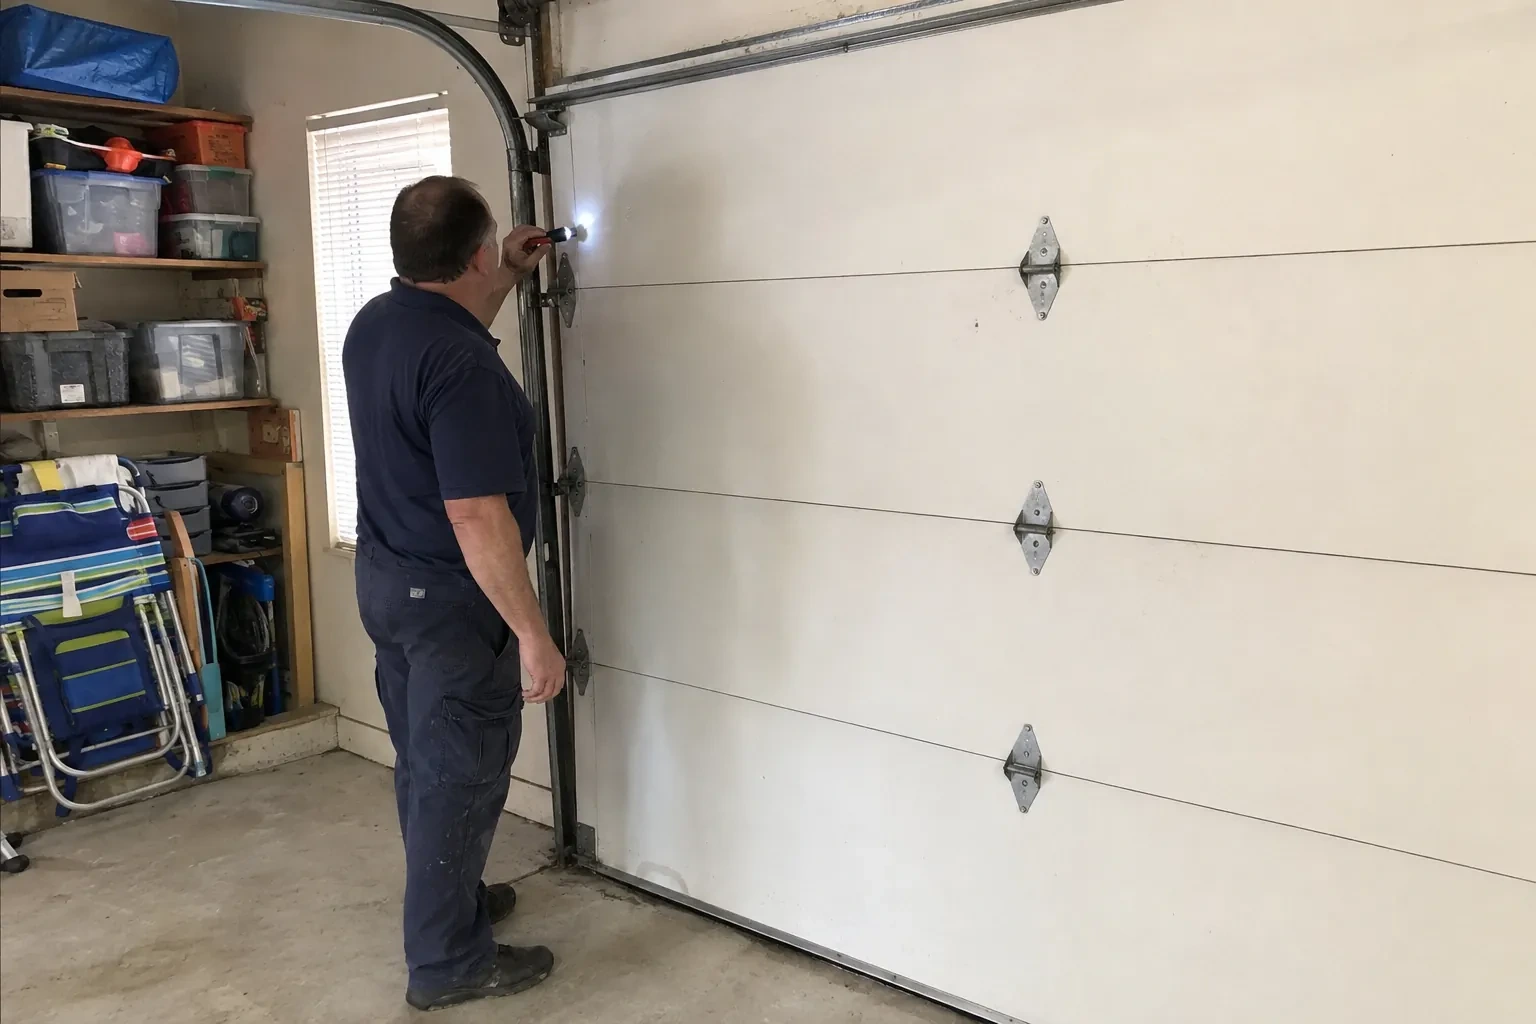
The first minutes are spent listening. What does the door do when close is pressed: drop and bounce, stay put, or close only while the wall button is held? Does the opener light blink, and how many times? When did it start, and what changed around then: a car bumped the track, a storm, shelving went up, the garage was reorganised, the first frost arrived? Does it happen at all hours or only on bright mornings? Those answers usually point at one of a handful of causes before a single tool comes out, and they decide whether the technician heads for the brackets, the wire or the head unit first.
Resetting the alignment
Alignment is done with the door open and the lights in view. The technician sets both sensors to the same measured height, loosens the wing nut on the receiving side, and turns the sensor a fraction at a time until its indicator changes from dark or flickering to steady. The nut is tightened while the light is watched, because a sensor can drift as the fastener bites, and the sending side is treated the same way. Brackets are checked for play and the wire is re-clipped so it cannot tug the sensor out of line. A steady light on both sides, held through a few door cycles, is the standard.
The monthly beam test
The habit worth keeping takes about a minute. Once a month, with the door open, press close on the wall control and, as it moves down, pass a broom handle through the beam near the floor. The door should stop and climb back to fully open. Then lay a 2x4 flat under the middle of the door and close onto it; the door should touch it and reverse. If either test fails, stop using the opener; close the door first if it is not already closed, then use the manual release, and get help moving it by hand if it feels heavy or will not hold. A door that passes both tests is doing its job.
Photo-Eye Sensor Alignment or Replacement
In the van
Wall or floor angle brackets
Two-conductor low-voltage wire
Concrete anchors
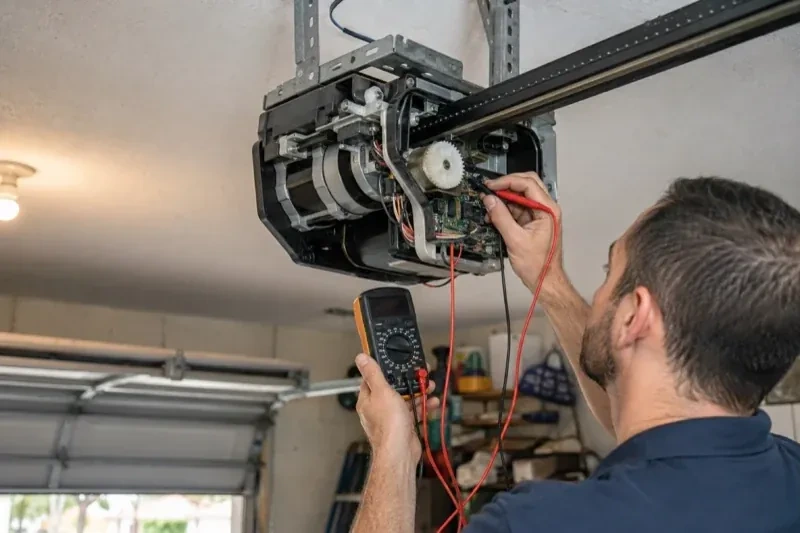
Multimeter
Wing nuts and carriage bolts
Photo-Eye Sensor Alignment or Replacement
What affects the quote
Sun and reflection remedies
Swapping the sensors side to side is a small addition when the wiring reaches. Fitting a shade, or extending the wire so the receiver can move, is a little more and is listed on its own.
Protecting exposed wire
On a wall where the wire runs in the open, a slim protective channel or a re-route higher along the wall keeps bins, bikes and mice away from it, and is quoted as its own line.
Wall or floor mounting with anchors
Mounting into concrete or masonry rather than onto the track means drilling, anchors and sealing against water, which takes more time than clipping to the rail.
What to have ready
- Does the opener light flash when you press close, and how many times?
- Are there sensors at the floor on both sides, or are they missing or mounted up beside the motor?
- When you press close, does the door bounce back, sit still, or go down only with the wall button held?
Photo-Eye Sensor Alignment or Replacement: questions
QuestionsDo I need to be home for the work?
It helps. The technician needs access to the garage and the head unit, and the visit ends with a demonstration of the sensor lights and the two tests so you know what normal looks like. If you cannot be there, an adult who can open the garage is enough, and the written note left afterwards records what was found and changed. Having the strip of floor beside the door clear before arrival saves time either way.
How should I clean the lenses?
Gently, with a soft dry or lightly damp cloth, the way you would clean eyeglasses. Never scrape a lens or use a solvent, since a scratched or clouded lens scatters the beam. Wipe both sensors, then check that the receiving light comes on steadily. If a lens frosts on cold mornings, give it a few minutes to clear or dry it with a cloth. A quarterly wipe keeps dust, cobwebs and salt film from building up.
How high off the floor should the sensors sit?
Low. The industry checklist expects the beam no more than roughly 15 cm (6 in) up from the floor, so that a small child, a pet or a bicycle wheel breaks it. Both sensors are set at the same measured height and level with each other, since a difference of a couple of centimetres is enough to lose the beam. Within that rule the technician can raise them a little to keep them out of the strip where slush collects.
Related services
- Chain-Drive Opener RepairThe rail shakes when the door runs.
- Belt-Drive Opener RepairPress the remote and the motor runs its full cycle, lights on, the usual whir, but the door does not move a centimetre.
- Garage Door Opener ReplacementPress the button and the motor hums, but the door stays exactly where it is.